
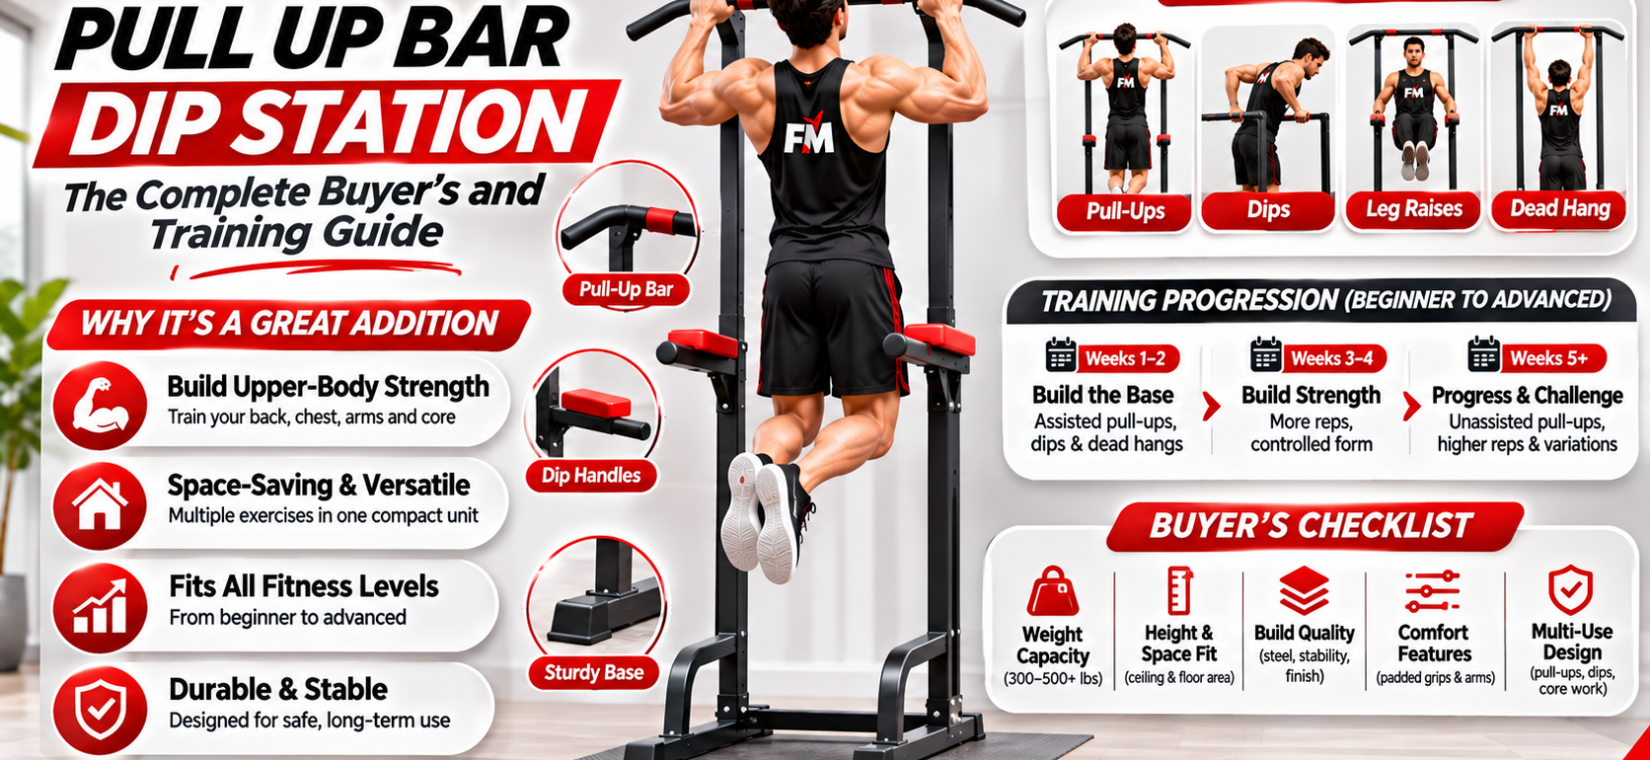
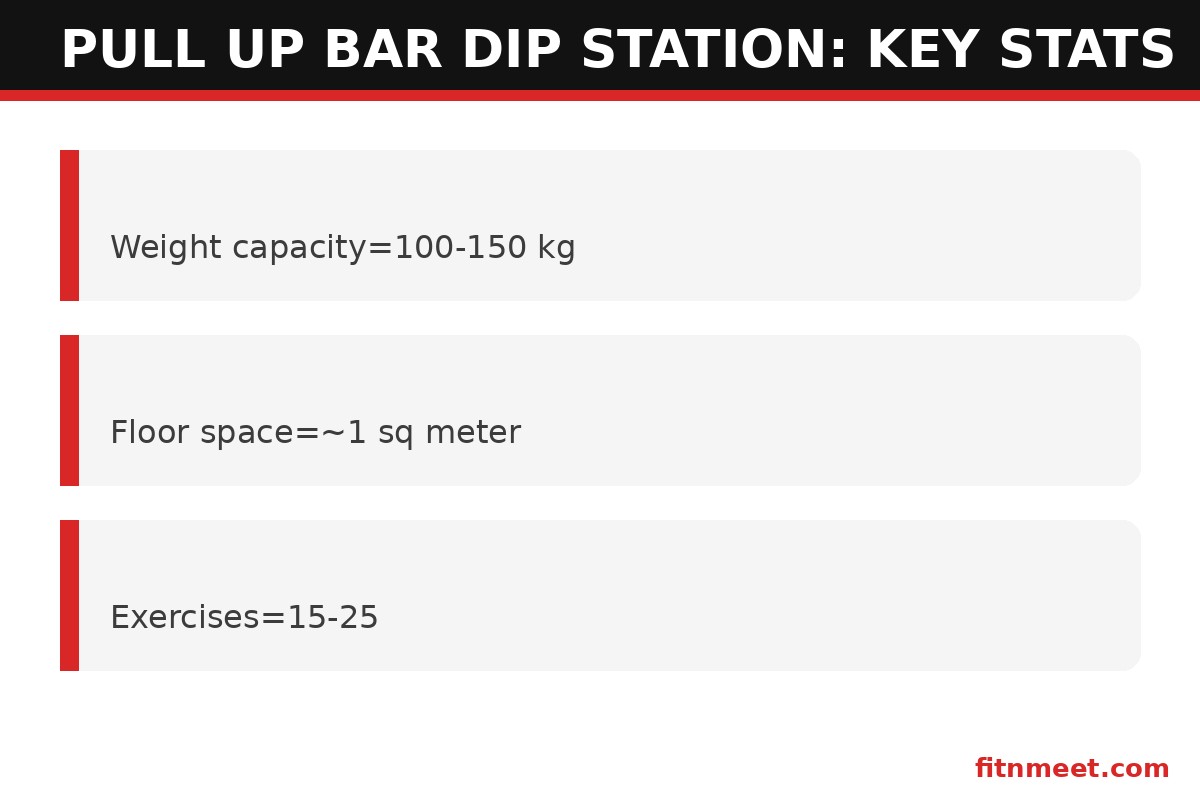
A pull up bar dip station is a freestanding home-gym frame that combines an overhead pull-up bar with parallel dip handles, letting you train your back, chest, shoulders, and arms with bodyweight exercises in one compact unit. Most models support 100–150 kg, assemble in under an hour, and fit in a corner of a room.
Definition: A pull up bar dip station is a standalone multi-exercise tower with a high bar for pull-ups and chin-ups plus lower parallel bars for dips, knee raises, and push-ups. It is sometimes called a power tower, and it gives you the core of a gym’s upper-body section without bolting anything to your walls or door frame.
What Is a station?
A pull up bar dip station is a freestanding steel frame designed around two of the most effective upper-body exercises ever invented: the pull-up and the dip. The frame rises roughly 2.1 to 2.3 meters, with a horizontal bar at the top for pull-ups and chin-ups, and a pair of parallel handles at mid-height — usually about 1.1 to 1.3 meters off the floor — for dips, knee raises, and elevated push-ups. Most designs add padded back and arm supports on one side so you can also do vertical knee raises for your abs.
Unlike doorway pull-up bars that wedge into a door frame, a pull up bar dip station stands on its own four feet. That means no screws in your walls, no door frames to damage, and no worrying about whether your landlord approves. The base typically spans about 100 × 110 cm, so a station needs roughly one square meter of floor space — about the footprint of an armchair.
Weight capacity is the number that matters most. Entry-level models are rated around 100 kg total user weight, while heavy-duty units handle 130–150 kg or more. That rating includes your bodyweight plus any added weight if you progress to weighted pull-ups and dips. Always buy a pull up bar dip station rated at least 20 kg above your current bodyweight so the frame stays rock solid as you get stronger.
The grips make or break the experience. A well-designed pull up bar dip station offers multiple pull-up grip widths — wide, neutral (parallel), and sometimes a multi-grip “wing” bar — because grip width changes which back muscles take the biggest share of the load. Dip handles on a quality pull up bar dip station sit about 55–65 cm apart, wide enough for chest-emphasis dips but narrow enough for triceps-focused reps. Foam or knurled grips protect your hands during long sets.
For context on how bodyweight exercises like pull-ups fit into structured strength training, Wikipedia’s pull-up exercise page breaks down the movement mechanics and muscle involvement in detail.
Why a Pull Up Bar Dip Station Matters for Your Training
Most home gyms fail for one simple reason: they make training inconvenient. A station solves that by putting a complete upper-body workout within ten steps of your couch. When the equipment is always set up and ready, you train more often — and consistency beats programming perfection every single time.
There is also a training-quality argument. Pull-ups and dips are compound movements: a pull-up works the lats, biceps, rear deltoids, and core in one rep, while a dip hammers the chest, triceps, and front deltoids. Research on compound versus isolation exercises consistently shows that multi-joint movements produce greater strength gains per unit of training time. One pull up bar dip station therefore replaces a lat pulldown machine, a chest press setup, a triceps station, and an ab bench — thousands of dollars of gym equipment condensed into one frame.
The numbers back this up. A single strict pull-up requires you to move roughly 90–100% of your bodyweight through the lats; for an 80 kg person, that is 72–80 kg of force per rep — a load most lifters would be proud of on a lat pulldown. Dips are similarly demanding: studies measuring muscle activation show dips recruit the lower chest fibers to a degree that rivals the decline bench press. A pull up bar dip station is not a compromise purchase; it is a legitimate strength tool.
Cost per workout tells the same story. A mid-range pull up bar dip station costs roughly $120–$250 — about three to five months of a commercial gym membership. Used three times a week, the frame pays for itself within four months and then delivers essentially free workouts for years. If you are building a home gym on a budget, a pull up bar dip station is one of the highest-value pieces you can buy. Browse FitnMeet’s muscle development gear to see how a station fits into a complete home setup.
Key Benefits of a Pull Up Bar Dip Station
The biggest benefit of a pull up bar dip station is training density: you can work your entire upper body and core in 20–30 minutes with zero setup time between exercises. Walk up, do a set of pull-ups, turn around, do a set of dips, rest 60 seconds, repeat. No plates to change, no machines to adjust, no waiting for equipment.
- Full upper-body coverage. Pull-ups build the back and biceps; chin-ups add biceps emphasis; dips build the chest, shoulders, and triceps; knee raises build the abs. One pull up bar dip station covers every major upper-body muscle group.
- Scalable difficulty. Beginners use the dip handles for assisted variations or the frame for inverted rows; advanced lifters add a dip belt with plates. A station grows with you from zero pull-ups to weighted sets of 10.
- Joint-friendly strength. Bodyweight pulling and dipping move your body through natural ranges of motion. Many lifters with cranky shoulders find neutral-grip pull-ups on a pull up bar dip station more comfortable than a straight barbell row.
- Core engagement on every rep. Hanging from a bar forces your abs, obliques, and lower back to stabilize you. Ten strict pull-ups on a pull up bar dip station give your midsection more honest work than ten minutes of crunches.
- Small footprint, zero installation. Roughly 1 m² of floor space, no drilling, no door frame required. Renters and apartment dwellers can own a station without asking anyone’s permission.
- Built-in progression tracking. Reps are reps — going from 3 pull-ups to 10 on your pull up bar dip station is progress you can measure without a spreadsheet.
Beyond muscles, there is a posture benefit worth mentioning. Desk workers spend hours with rounded shoulders; the pulling movements on a pull up bar dip station strengthen the mid-back muscles that counteract that slouch. Two or three weekly sessions of pull-ups and rows can noticeably improve how you sit and stand within six to eight weeks.
How to Use a station (Step by Step)
Getting started with a pull up bar dip station is straightforward, but a little setup discipline goes a long way. Follow these steps to assemble, position, and train safely.
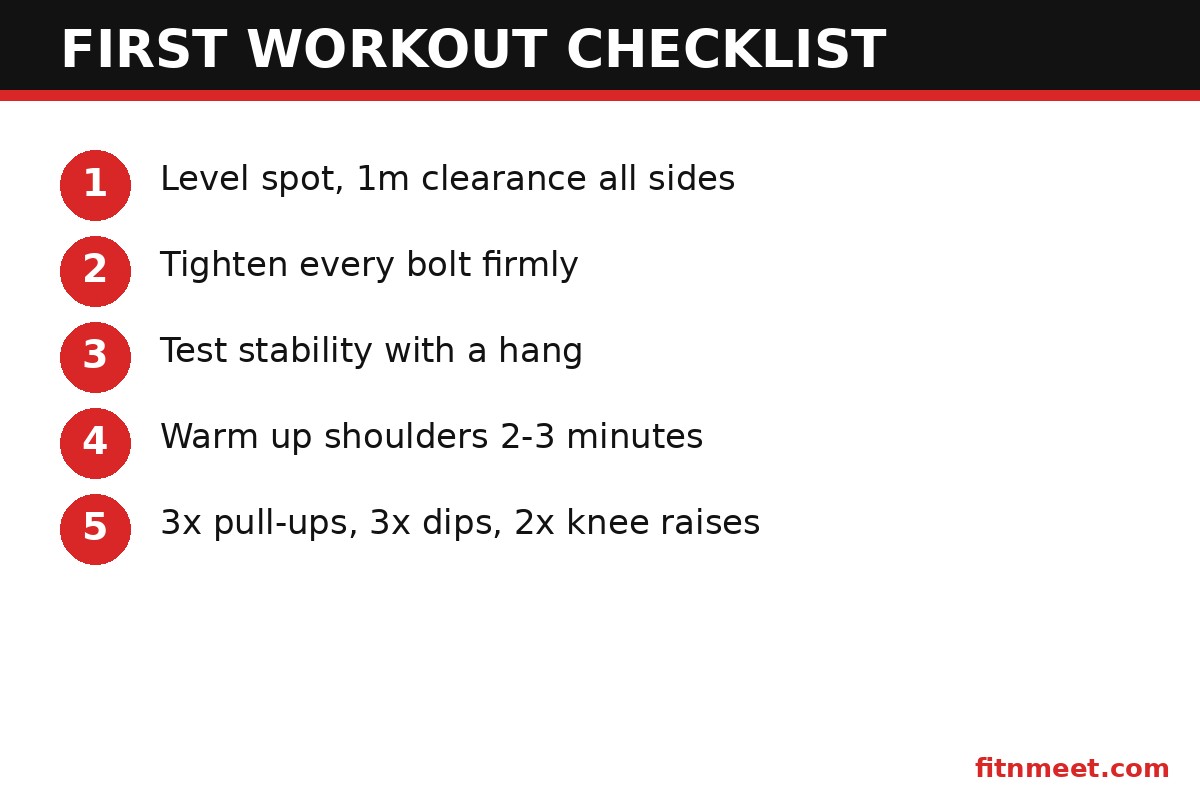
- Choose a level spot. Place your pull up bar dip station on a flat, hard surface — concrete, tile, or hardwood. Thick carpet can let the feet rock, so shim or relocate if the frame wobbles. Leave at least 1 meter of clearance on all sides.
- Assemble and tighten everything. Most units take 30–60 minutes with basic tools. Tighten every bolt firmly; a station with loose hardware will sway, which is both distracting and unsafe. Re-check bolts monthly.
- Test stability before training. Hang from the pull-up bar and gently swing. The frame may flex a few millimeters — that is normal — but the feet should not lift off the floor. If they do, your pull up bar dip station may need a wider model or added weight plates on the base pegs.
- Learn the pull-up first. Grip the bar overhand, slightly wider than shoulders, hang with arms straight, then pull your chest toward the bar until your chin clears it. Lower slowly over 2–3 seconds. Quality reps on a pull up bar dip station beat sloppy high-rep sets every time.
- Learn the dip second. Grip the parallel handles, lift yourself up, lean slightly forward, lower until your shoulders are just below your elbows, then press back up. Keep your shoulders down and away from your ears throughout.
- Add knee raises for abs. Rest your forearms on the padded supports, grip the vertical handles, and raise your knees toward your chest. Control the lowering phase — swinging wastes the rep.
- Program 2–4 sessions per week. Alternate pull-up and dip sets with 60–120 seconds of rest. A simple starter session on a station is 3 sets of pull-ups, 3 sets of dips, and 2 sets of knee raises.
- Progress deliberately. When you can do 3 sets of 10 clean pull-ups on your pull up bar dip station, add weight with a dip belt or slow the tempo to 4 seconds down. Progression is the entire game.
Workout Scheme: Sets, Reps, and Progression
Think of your weekly sets as the “dosage” of your pull up bar dip station training. The right dose depends on your level, but the science of strength adaptation gives clear guardrails: most people grow stronger doing 10–20 hard sets per muscle group per week, spread across 2–4 sessions.
| Level | Pull-ups (weekly sets) | Dips (weekly sets) | Sessions/week | Rep target per set |
|---|---|---|---|---|
| Beginner (0–3 pull-ups) | 6–8 (assisted or negatives) | 6–8 (bench-assisted) | 2 | 3–6 |
| Intermediate (4–10 pull-ups) | 10–14 | 10–14 | 3 | 6–10 |
| Advanced (10+ pull-ups) | 14–20 (weighted) | 14–20 (weighted) | 3–4 | 5–8 |
A classic full-body day on a station looks like this: pull-ups 4×6, dips 4×8, knee raises 3×12, inverted rows using the dip bars 3×10. Rest 90 seconds between sets. That is 14 sets in about 35 minutes — a complete upper-body and core session that would take twice as long on machines.
For progression, the simplest reliable method is “double progression”: pick a rep range (say 6–10), and when you hit the top of the range on all sets, add 2.5 kg next session. Lifters who log their pull up bar dip station workouts progress roughly 30–40% faster than those who train by feel, simply because the log removes guesswork. Even a notes app works.
Recovery matters as much as the work. Pull-ups and dips heavily load the elbows and shoulders, so keep at least 48 hours between hard sessions on the same movement. If you are training for general fitness, pairing your pull up bar dip station work with proper nutrition helps: check out FitnMeet’s sports nutrition range for recovery-support basics, and read up on protein’s role in muscle repair at the NIH Office of Dietary Supplements exercise fact sheet.
Safety: Risks and How to Avoid Them
A pull up bar dip station is safe when used with respect, but the injury data on bodyweight training points to three recurring problems: shoulder impingement from poor dip form, elbow tendon irritation from too much volume too soon, and falls from unstable or overloaded frames.
Shoulder safety on dips. The most common dip mistake is dropping too deep. Keep the descent to the point where your upper arms are parallel to the floor; going deeper with a heavy load stresses the anterior shoulder capsule. If you have a history of shoulder issues, start with neutral-grip dips or substitute push-up variations on the dip handles of your station until strength improves.
Elbow and tendon care. Pull-ups load the elbow flexor tendons heavily. Jumping from zero to daily max-effort sets on a new pull up bar dip station is the classic recipe for tendonitis. Build volume gradually — add no more than one set per exercise per week — and back off if you feel sharp elbow pain rather than muscle fatigue.
Frame stability. Never exceed the rated capacity of your pull up bar dip station, and never let children hang from the pull-up bar unsupervised — the high center of gravity means an empty tower can tip if grabbed at the top. Place the unit away from walls on the pull-up side so you cannot strike your head during kipping movements.
Warm up before every session: 2–3 minutes of arm circles, band pull-aparts, and scapular hangs prepare the shoulders for the loads a pull up bar dip station demands. Skip the warm-up and you borrow from your joints what your muscles should be paying. More equipment guides live in our strength training section.
Pull Up Bar Dip Station vs Other Home-Gym Options
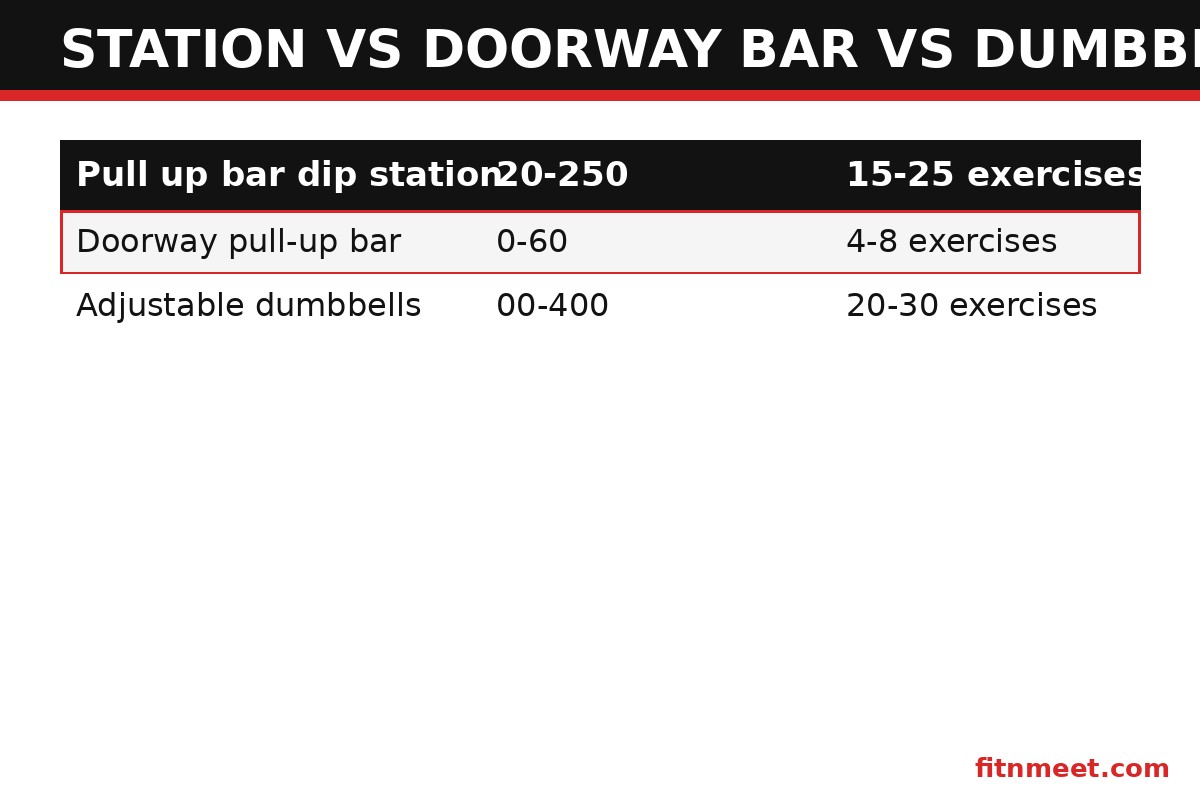
How does a station stack up against the other popular ways to train upper body at home? The table below compares the main options on the factors that actually matter: cost, space, exercise variety, and progression ceiling.
| Option | Typical cost | Floor space | Upper-body exercises | Progression ceiling |
|---|---|---|---|---|
| Pull up bar dip station | $120–$250 | ~1 m² | 15–25 | Very high (weighted vests/belts) |
| Doorway pull-up bar | $30–$60 | None | 4–8 | High, but no dips |
| Adjustable dumbbells | $200–$400 | ~0.5 m² | 20–30 | Limited by max weight |
| Resistance bands set | $30–$80 | ~1 m² | 15–20 | Low–medium |
| Home cable machine | $500–$2,000 | 2–4 m² | 30+ | Very high |
The pull up bar dip station wins on value: nothing else under $250 gives you heavy compound pulling AND pushing with this small a footprint. Dumbbells offer more exercise variety but cost more and cap out — a $300 dumbbell set tops out around 24 kg per hand, while a pull up bar dip station plus a $40 dip belt lets a 90 kg lifter work with 110+ kg of resistance indefinitely.
Where the station loses is lower-body training — it does almost nothing for legs. That is why most effective home gyms pair a pull up bar dip station with a squat solution and something for loaded carries. If legs are your priority, read our guide on choosing a fitness equipment for home training to plan the full setup.
Alternatives to a Pull Up Bar Dip Station
A station is not the only route to a strong upper body at home. Here are the main alternatives and who they suit:
- Wall-mounted pull-up bar + separate dip bars. Cheaper combined (~$80–$150) and each piece is sturdier, but you need solid walls and two footprints. Good if you own your home and have the space.
- Gymnastic rings hung from a beam or tree. Around $40, brutally effective, and portable — but they demand more stabilization skill and a sturdy anchor point. Rings are an advanced alternative to a pull up bar dip station, not a beginner one.
- Adjustable dumbbells. Better for isolation work and single-arm training, worse for heavy back work. Many lifters eventually own both a pull up bar dip station and dumbbells.
- Commercial gym membership. Best exercise variety of all, but $40–$70/month forever and zero convenience. If you train at odd hours or hate commuting, a station at home wins on adherence.
Honestly, the pull up bar dip station is the best default choice for most people: it needs no installation, covers the two most important upper-body movements, and costs less than a few months of gym dues. Alternatives make sense only when you have a specific reason — solid walls, a need for isolation work, or a love of barbell training.
Pull Up Bar Dip Station FAQs
How much space do I need for a pull up bar dip station?
About one square meter of floor space (roughly 100 × 110 cm) plus 1 meter of clearance on all sides and enough ceiling height for the 2.1–2.3 m frame plus your head above the bar. A standard 2.4 m (8 ft) ceiling works for most users under 190 cm tall.
Can a pull up bar dip station hold my weight?
Most models are rated for 100–150 kg total user weight. Choose a pull up bar dip station rated at least 20 kg above your bodyweight, and remember the rating must also cover any added weight if you progress to weighted pull-ups and dips.
Can beginners use a pull up bar dip station?
Yes. Beginners can do assisted pull-ups with a resistance band looped over the bar, negative-only pull-ups (jump up, lower slowly), and bench-assisted dips using the parallel handles. A pull up bar dip station is one of the best tools for working up to your first strict pull-up.
Pull up bar dip station vs doorway pull-up bar — which is better?
A pull up bar dip station is more versatile: it adds dips, knee raises, and push-up handles, needs no door frame, and suits renters. A doorway bar is cheaper and smaller but only does pulling movements. If you can spare one square meter, the station wins.
How often should I train on a pull up bar dip station?
Two to four sessions per week works for most people, with at least 48 hours between hard pull-up or dip sessions. A typical session is 3–4 sets of pull-ups, 3–4 sets of dips, and 2–3 sets of knee raises — about 30–40 minutes total.
Do I need to bolt a pull up bar dip station to the floor?
No — freestanding models are designed to be stable without bolting. Place the pull up bar dip station on a flat, hard surface, keep the feet on the ground during use, and stay within the rated weight capacity. Some users add weight plates to base pegs for extra stability during weighted work.
This article is for informational purposes only and is not medical advice. Consult a healthcare professional before starting any supplement or exercise program.
Conclusion
A pull up bar dip station is one of the smartest purchases a home-gym builder can make: two of the best upper-body exercises ever invented, zero installation, about one square meter of space, and a price that pays for itself within months. Whether you are working toward your first pull-up or adding plates to weighted dips, a station scales with you for years.
Start with the fundamentals in this guide — stable setup, clean form, sensible progression — and stay consistent. If you are building out the rest of your home gym, browse FitnMeet’s shop for training gear and recovery essentials that pair perfectly with your new pull up bar dip station.