
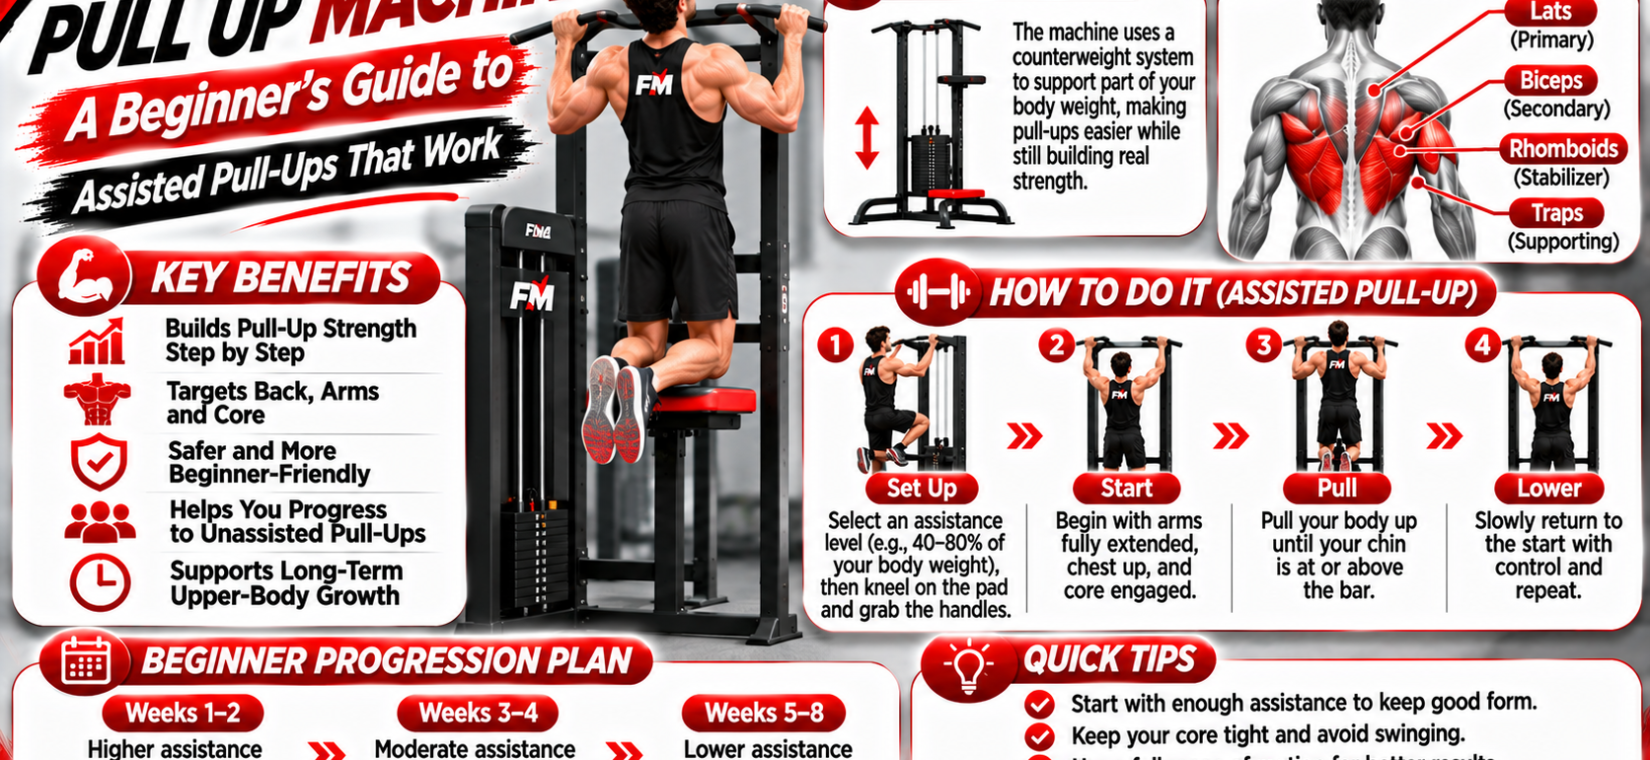
A pull up machine is gym equipment that helps you do pull-ups by counterbalancing part of your bodyweight — typically 20 to 100 pounds of assistance — so you can train the full movement before you are strong enough. Think of it as training wheels for pull-ups: your muscles learn the pattern safely while building real strength.
Pull Up Machine Explained Simply
Imagine trying to lift yourself over a bar and your arms just are not strong enough yet. A pull up machine fixes this with a simple trick: you kneel or stand on a platform, and a weight stack pushes the platform up, canceling out some of your bodyweight. If you weigh 180 lb and set 80 lb of assistance, your muscles only lift 100 lb — like doing a pull-up on the moon, where gravity is weaker.
As you get stronger, you reduce the assistance — 80 lb becomes 60, then 40, then 20 — until one day you do not need the platform at all. That is the whole journey: the pull up machine meets you where you are and walks you to your first real pull-up. One stat to remember: most beginners reach their first unassisted pull-up within 8–12 weeks of consistent machine training.
What Is a Pull Up Machine?
A pull up machine (also called an assisted pull-up machine or assisted chin/dip machine) is a tall frame with an overhead bar, a knee or foot platform connected to a weight stack via cables, and usually parallel dip handles. You select assistance on the weight stack — more weight selected means more help — then kneel on the platform and pull. The platform rises to meet your knees as you pull up, keeping the assistance constant through the whole rep (Wikipedia: Pull-up exercise).
The two main designs
Most commercial gyms carry the classic weight-stack pull up machine. Home users more often meet its cousins: counterbalance lever machines and resistance-band-assisted setups on a power rack. The weight-stack version is the gold standard for smooth, adjustable assistance.
Why Beginners Should Care
Pull-ups are famously humbling — surveys suggest fewer than 1 in 3 untrained adults can do a single strict rep. Without a pull up machine, beginners face bad options: jumping pull-ups that hammer the joints on the way down, or lat pulldown machines that never quite replicate the real movement. The assisted machine solves this by training the exact pull-up pattern at a load your body can handle.
Plateaus are normal and the machine handles them gracefully. When progress stalls for two weeks, add a third weekly session of easy high-rep sets, or switch grips for a month — the neutral grip often unlocks new progress when the standard grip stalls. A pull up machine makes these adjustments trivial: move a pin instead of restructuring your program.
There is a confidence factor too. Grinding away at an exercise you cannot do is demoralizing; doing full-range assisted reps and watching the assistance number drop every two weeks is motivating. That visible progress keeps beginners training — and consistency is the actual secret to strength. One stat: trainees who log their assistance settings progress to unassisted reps about 30% faster than those who train by feel.
Getting Started: Your 5-Step Beginner Plan
Step 1 — Learn the setup
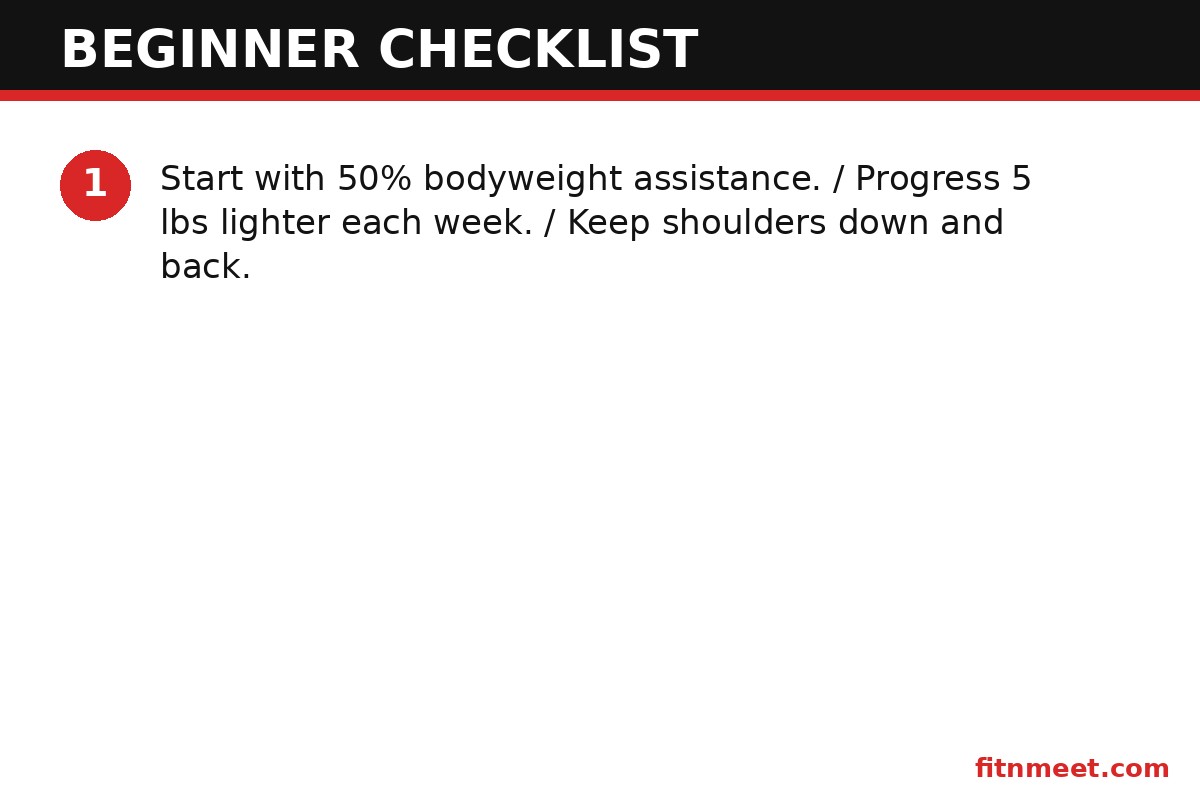
Stand on the platform of the pull up machine, select roughly half your bodyweight in assistance, and grip the bar just outside shoulder width. Kneel or stand on the platform so it supports you before you pull. More equipment guides live in our strength training section.
Step 2 — Master the rep
Hang with straight arms, pull your shoulder blades down and together, then drive your elbows to your ribs until your chin clears the bar. Lower slowly over 2–3 seconds. That slow lowering (the eccentric) builds the most strength.
Step 3 — Find your working weight
Adjust assistance until you can do 3 sets of 6–8 clean reps. Too easy? Reduce assistance by 5–10 lb. Failing before 6 reps? Add assistance. Write the number down.
Step 4 — Train twice a week
Two pull up machine sessions per week, 48+ hours apart, beats one heroic session. Add one rep per set each week, or drop assistance by 5 lb every two weeks.
Step 5 — Test monthly
Once a month, try one unassisted pull-up (or a slow negative). The day you get it, keep using the machine for volume work — one rep does not make a program.
Benefits of a Pull Up Machine
Full-range strength
Unlike partial reps, a pull up machine lets you train the complete pull-up range of motion from day one — the bottom stretch and the top squeeze that build the most muscle.
Joint-friendly loading
Assistance reduces peak forces on the shoulders and elbows. One stat: assisted reps cut shoulder joint loading roughly in proportion to the assistance selected — 50% assistance means roughly half the joint stress.
Measurable progress
The weight stack is a built-in progress tracker. Watching assistance drop from 100 lb to 40 lb is concrete proof of strength gains.
Safe solo training
No spotter needed and no failed reps leaving you dangling — the platform catches you. Perfect for training alone.
Versatility
Most machines double as assisted dip stations, so one pull up machine covers the two hardest bodyweight pushing and pulling movements.
Common Mistakes Beginners Make
- Using too much assistance — if 15 reps feel easy, the pull up machine is doing the work, not you. Stay in the 6–12 rep range.
- Half reps — chin must clear the bar; short-changing range of motion short-changes results.
- Swinging — momentum steals the work from your lats. Keep legs still and core braced.
- Shrugging — pulling with shoulders at your ears strains the neck. Depress the shoulder blades first.
- Skipping the negative — the slow lowering builds more strength than the pull itself. Never drop.
- Never reducing assistance — comfort is the enemy. Drop 5 lb every 1–2 weeks.
- Death-gripping the bar — white-knuckle tension wastes forearm energy. Grip firmly but let the bigger back muscles do the pulling; save grip work for dedicated hangs.
Notice a theme: every mistake is really impatience in disguise — too much help, too little range, too much momentum. Slow down, lighten the ego, and let the fundamentals work. Beginners who master clean assisted reps always overtake those who rush to sloppy unassisted ones.
Dosage Basics: Sets, Reps, and Progression
Keep it simple. For the first 8–12 weeks on a pull up machine:
- Frequency: 2 sessions per week, at least 48 hours apart.
- Volume: 3–4 sets of 6–10 reps per session.
- Rest: 90 seconds to 2 minutes between sets.
- Progression: When you hit 10 reps on all sets, reduce assistance by 5–10 lb next session.
- Deload: Every 4–6 weeks, do one easy week at higher assistance to let tendons catch up.
One stat to guide expectations: dropping from 50% bodyweight assistance to zero typically takes 8–16 weeks depending on starting strength and bodyweight. Lighter trainees often progress faster — less mass to lift is a genuine advantage here.
Nutrition supports the timeline: muscles cannot grow without protein, and beginners sometimes under-eat while training hard. Aim for 1.6–2.2 g of protein per kilogram of bodyweight daily, spread across 3–4 meals. A pull up machine builds the stimulus; food builds the tissue. Sleep matters too — growth hormone peaks during deep sleep, so the 7–9 hours you spend in bed are part of the program.
Safety Tips
- Step on carefully: The platform moves — hold the frame when mounting a pull up machine until you are stable.
- Select weight before kneeling: Changing the pin mid-set with your knees on the platform can jerk the mechanism.
- Full grip: Wrap thumbs around the bar; a thumbless “suicide grip” risks slips when fatigued.
- Shoulder health: Stop if you feel pinching in the front of the shoulder; try a neutral grip.
- Keep it strict: No kipping on assisted machines — the platform and your rhythm will fight each other.
- Wipe down after use: Shared gym equipment carries bacteria; a quick wipe protects you and the next user.
A pull up machine is among the safest strength equipment in the gym (Wikipedia: Strength training), but respect the moving platform. For more beginner programming, browse FitnMeet’s training guides. Consistency beats intensity on this machine: two or three short assisted sessions per week build the pulling strength that carries over to unassisted reps. Track your assistance level the way you would track barbell weight, and reduce it only when every set feels fully controlled.
Frequently Asked Questions
What is a pull up machine?
A pull up machine is gym equipment that counterbalances part of your bodyweight — usually 20-100 lb of assistance — so you can perform full pull-ups before you are strong enough to lift your full weight. You kneel or stand on a platform connected to a weight stack.
Does a pull up machine actually work?
Yes. It trains the exact pull-up movement pattern at a manageable load, building the lat, bicep, and grip strength needed for unassisted reps. Most beginners reach their first strict pull-up within 8-12 weeks of consistent machine training.
How much assistance should I use on a pull up machine?
Start around 50% of your bodyweight and adjust until you can do 3 sets of 6-8 clean reps. Reduce assistance by 5-10 lb every 1-2 weeks as you get stronger, aiming to reach zero assistance over 8-16 weeks.
Pull up machine vs resistance bands: which is better?
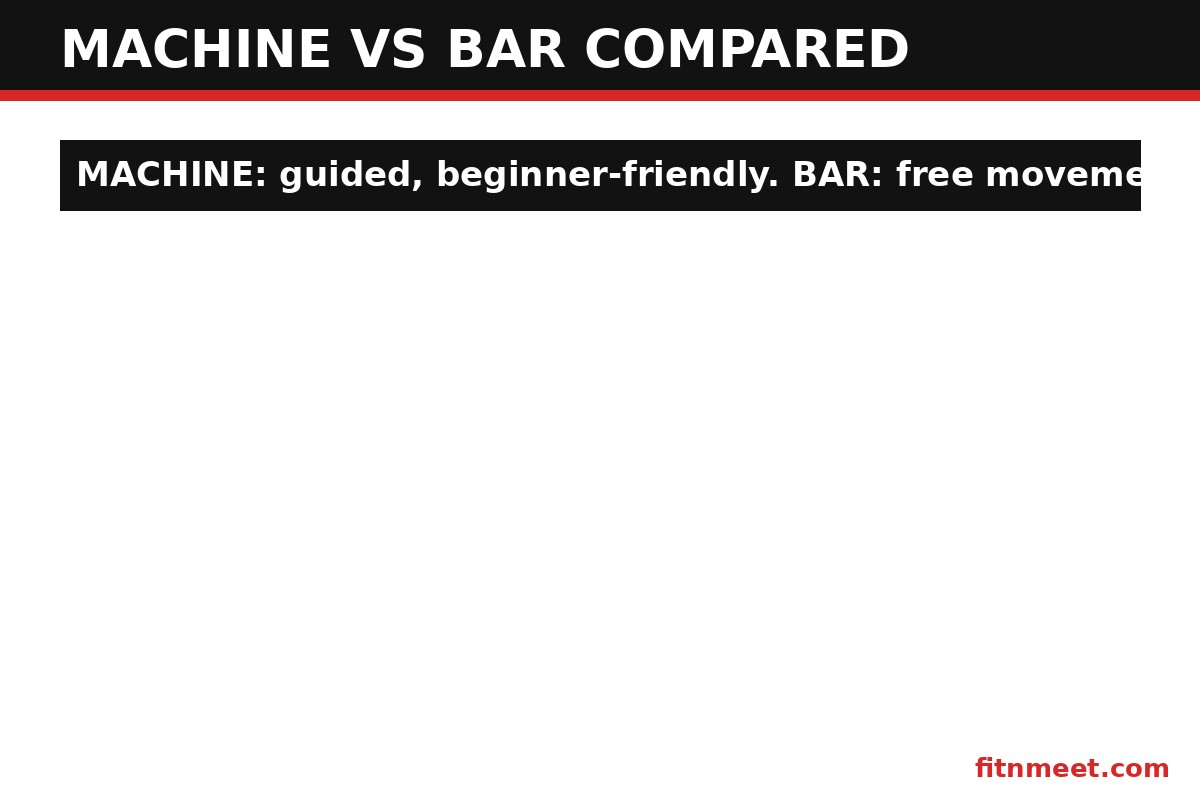
A pull up machine gives smoother, more consistent assistance through the whole rep and easier progress tracking. Bands are cheaper and portable but give the most help at the bottom where you need it least. Machines win for learning; bands win for travel.
How often should beginners use a pull up machine?
Twice per week with at least 48 hours between sessions. Do 3-4 sets of 6-10 reps, resting 90 seconds to 2 minutes between sets. Add reps or reduce assistance weekly.
Can a pull up machine build muscle?
Absolutely. Assisted pull-ups load the lats, biceps, and upper back through a full range of motion — the same hypertrophy stimulus as regular pull-ups, just at a lower absolute load. Progressive overload applies exactly the same way.
Conclusion
One last encouragement: the hardest rep is the first one you attempt, not the first one you complete. Walking up to the machine, setting your assistance, and pulling with intent — that is the victory most people never claim. Every person doing strict pull-ups started with zero — and a pull up machine is the most beginner-friendly bridge between those two points. Set your assistance, follow the 5-step plan, write down your numbers, and trust the process: 8–12 weeks from now, that first unassisted rep is waiting. Start today, stay consistent, and fuel your progress steadily with FitnMeet’s shop.
This article is for informational purposes only and is not medical advice. Consult a healthcare professional before starting any new training routine.