
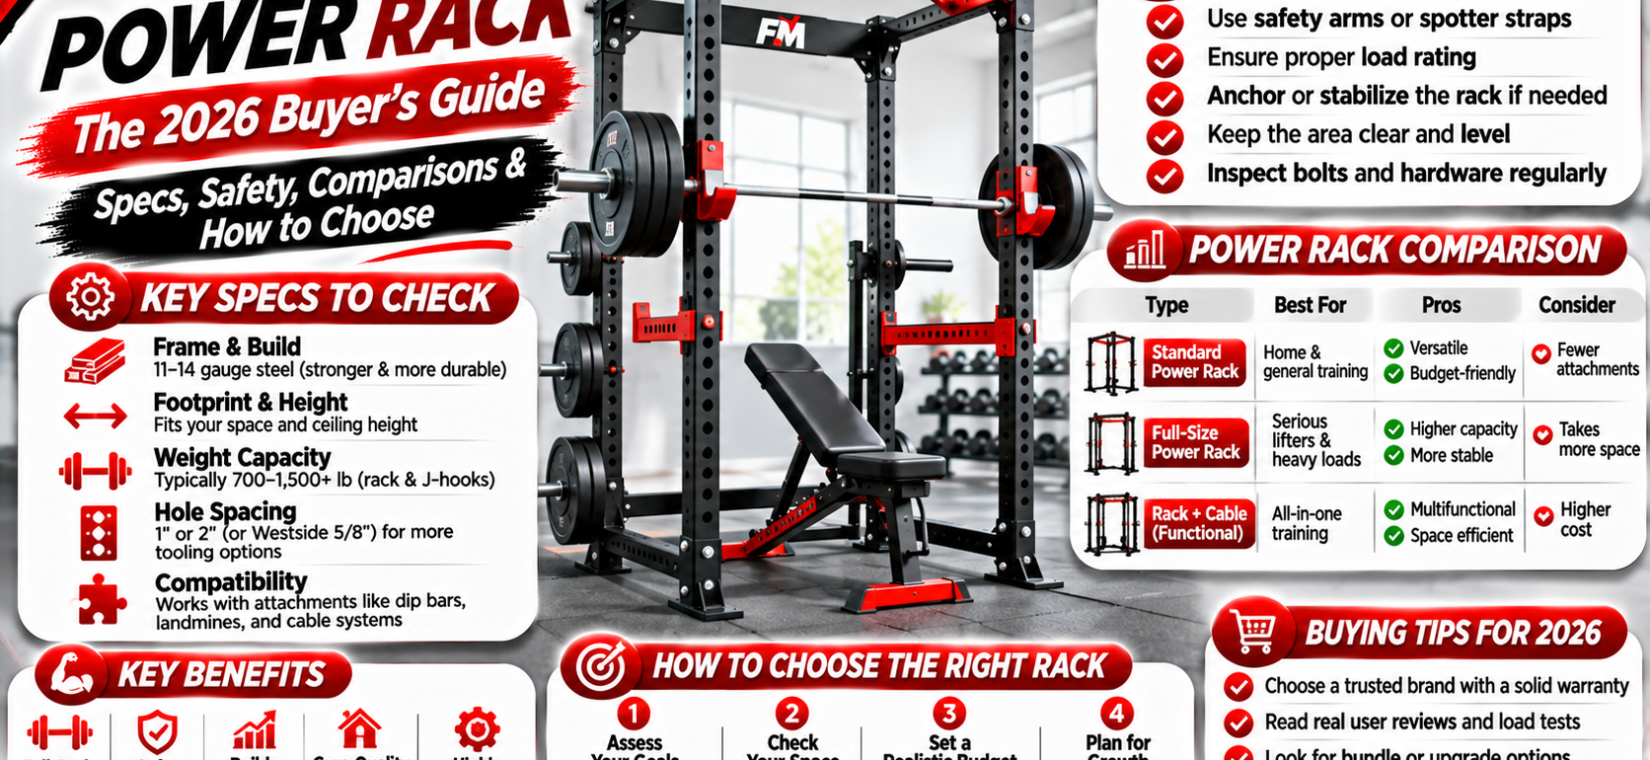
Rack power rack is a redundant phrase that simply means a power rack, the four-post steel cage for safe heavy lifting. Its adjustable J-hooks and safety spotter arms let you squat, bench, and press heavy alone. When shopping, look for 3×3-inch uprights, Westside hole spacing, and a weight capacity of at least 700 pounds.
Quick Verdict: Should You Buy a Rack Power Rack?
✅ Our pick if: you train at home, lift alone, and want to squat and bench heavy safely. A rack power rack with full safety bars is the single best equipment investment a home-gym lifter can make — it replaces a spotter for every barbell lift that matters. Pair the approach above with options from our muscle development range.
🚫 Skip if: your ceiling is under 215 cm (most racks need 210–230 cm plus pull-up clearance), you only do dumbbell or machine work, or your floor cannot handle a 100+ kg steel frame plus loaded barbell. In those cases a squat stand or adjustable bench setup fits better.
The bottom line: for barbell training at home, nothing beats a rack power rack on safety per dollar. The rest of this guide helps you compare options, read specs like a pro, and avoid the three mistakes that fill secondhand marketplaces with regretted purchases.
What Is a Rack Power Rack?
A rack power rack is a freestanding steel cage — four vertical uprights connected by top and bottom crossmembers — with pairs of J-hooks (to hold the barbell) and safety spotter arms or pin-and-pipe safeties (to catch a failed rep). You set the J-hooks at your unrack height, the safeties just below your lowest point of the lift, and train inside the cage. If you fail a squat, you sink onto the safeties; if you fail a bench press, the bar lands on the safeties above your chest, not on your chest.
The design dates to the early days of powerlifting, when lifters needed a way to train maximal squats and bench presses without a full crew of spotters. Today the rack power rack is the centerpiece of most serious home gyms and a staple of commercial facilities. You will see the concept discussed across strength sports — the Wikipedia powerlifting overview covers the squat, bench, and deadlift that a rack is built to support.
What a rack power rack is NOT: it is not a Smith machine (the bar on a Smith travels a fixed vertical path, removing stabilizer demand and altering natural bar path). It is not a squat stand (two independent posts with no rear structure — lighter and cheaper, but less stable and harder to bail from). And it is not a half rack (a hybrid with rear uprights only). Each has its place, as the comparison tables below show.
Head-to-Head Comparisons
Comparison 1: Rack Power Rack vs Squat Stand vs Half Rack vs Smith Machine
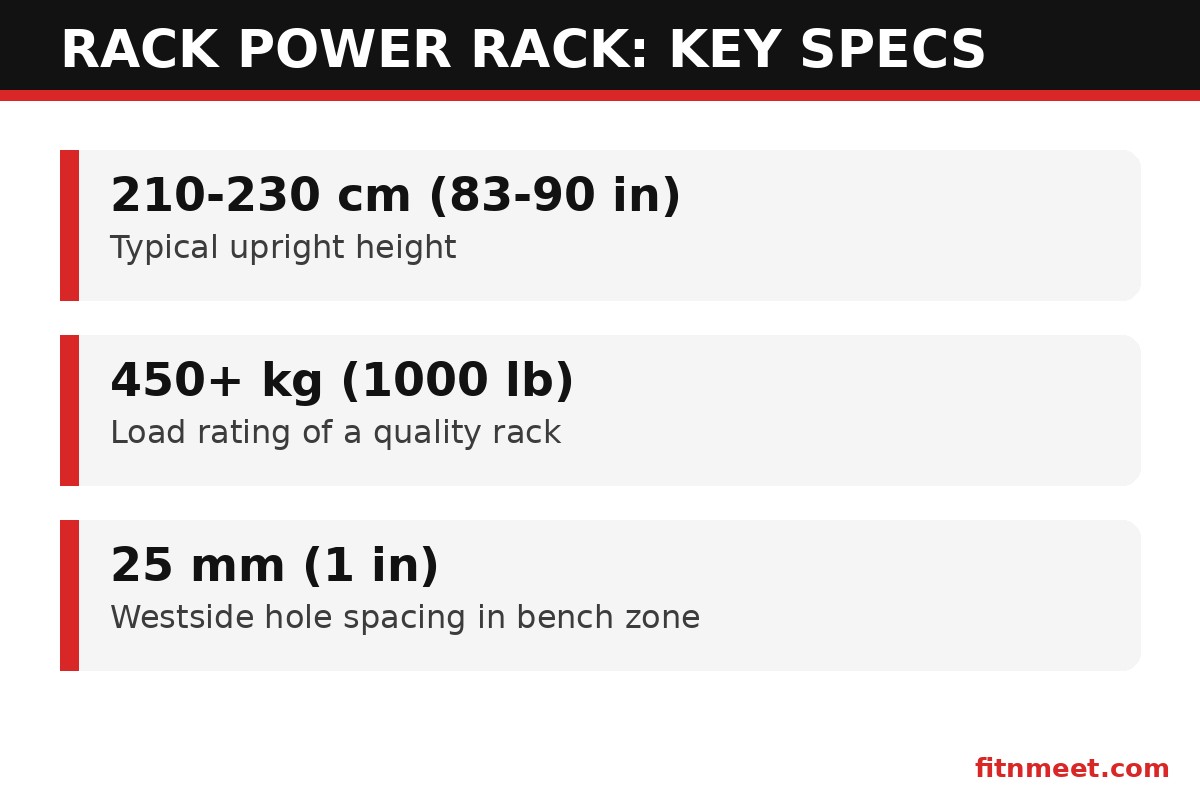
| Option | Solo-lifting safety | Footprint | Typical price | Best for |
|---|---|---|---|---|
| Rack power rack | ★★★★★ (full safeties) | ~120 × 120 cm | $300–$1,200+ | Home lifters who squat/bench heavy alone |
| Squat stand | ★★★ (spotter arms) | ~120 × 60 cm | $150–$500 | Tight spaces; lifters who also have a spotter |
| Half rack | ★★★★ (safeties, open front) | ~130 × 120 cm | $400–$900 | Walk-out room for squats; plate storage |
| Smith machine | ★★★★ (catches, fixed path) | ~130 × 130 cm | $400–$1,500 | Beginners wanting guided bar path |
The rack power rack wins on the metric that matters most for solo lifters: fail-safe design. Only a full cage surrounds you with safeties on both sides for both squats and bench presses. Squat stands save space but their spotter arms are shorter and the structure can tip under a badly dumped bar. Smith machines feel safe but lock you into an unnatural bar path that many weight training coaches consider inferior for long-term development.
Comparison 2: Budget vs Mid-Range vs Premium Rack Power Rack
| Tier | Price | Steel | Load rating | Hole spacing |
|---|---|---|---|---|
| Budget | $200–$400 | 14-gauge (2 mm) | 300–350 kg | 50 mm throughout |
| Mid-range | $500–$900 | 11-gauge (3 mm) | 450 kg+ | 25 mm Westside in bench zone |
| Premium | $1,000+ | 11-gauge or 7-gauge | 500 kg+ | 25 mm throughout, numbered |
Budget racks are honest equipment for beginners lifting under 140 kg — but they wobble, their J-hooks wear faster, and coarse 50 mm hole spacing makes precise bench setup frustrating. The mid-range tier is the sweet spot for most lifters: 11-gauge steel, 450+ kg ratings, and Westside hole spacing give you commercial-gym feel at a home-gym price. Premium racks add thicker steel, better powder coating, and attachment ecosystems (lever arms, cable systems) that budget frames cannot support.
Comparison 3: Key Specs That Actually Matter
| Spec | What to look for | Why it matters |
|---|---|---|
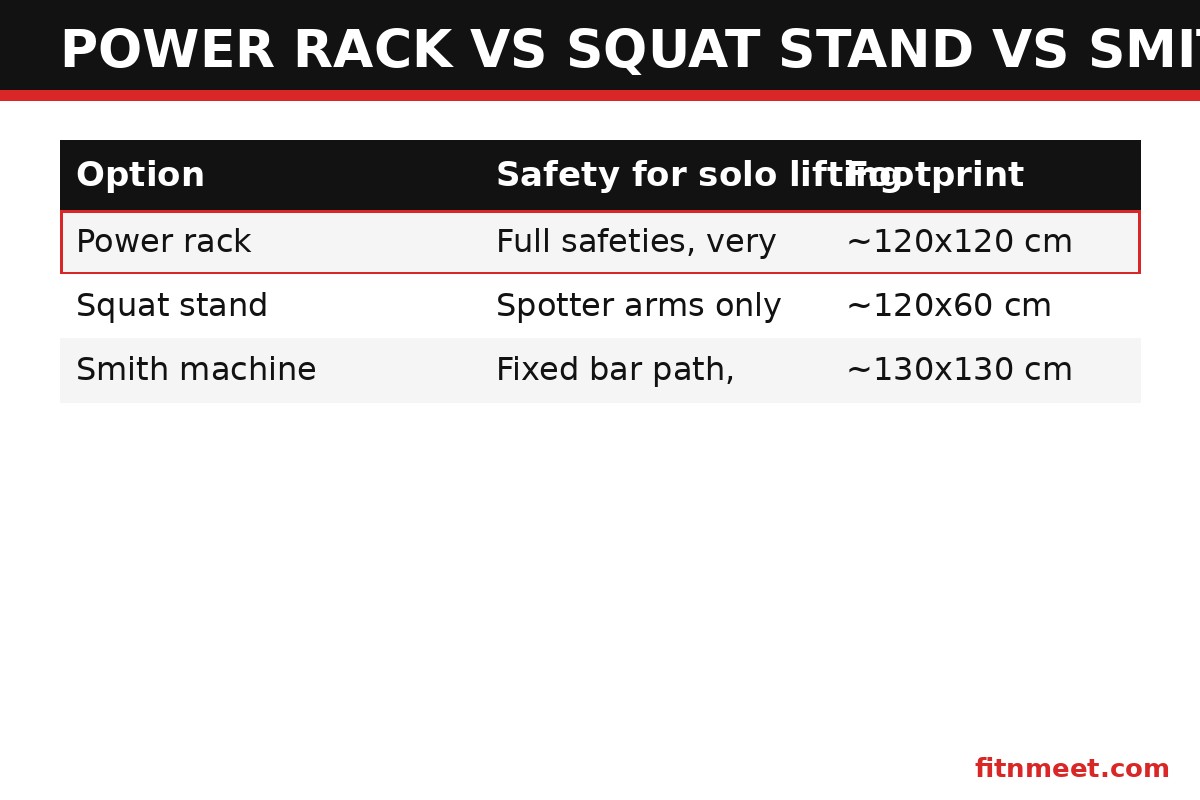
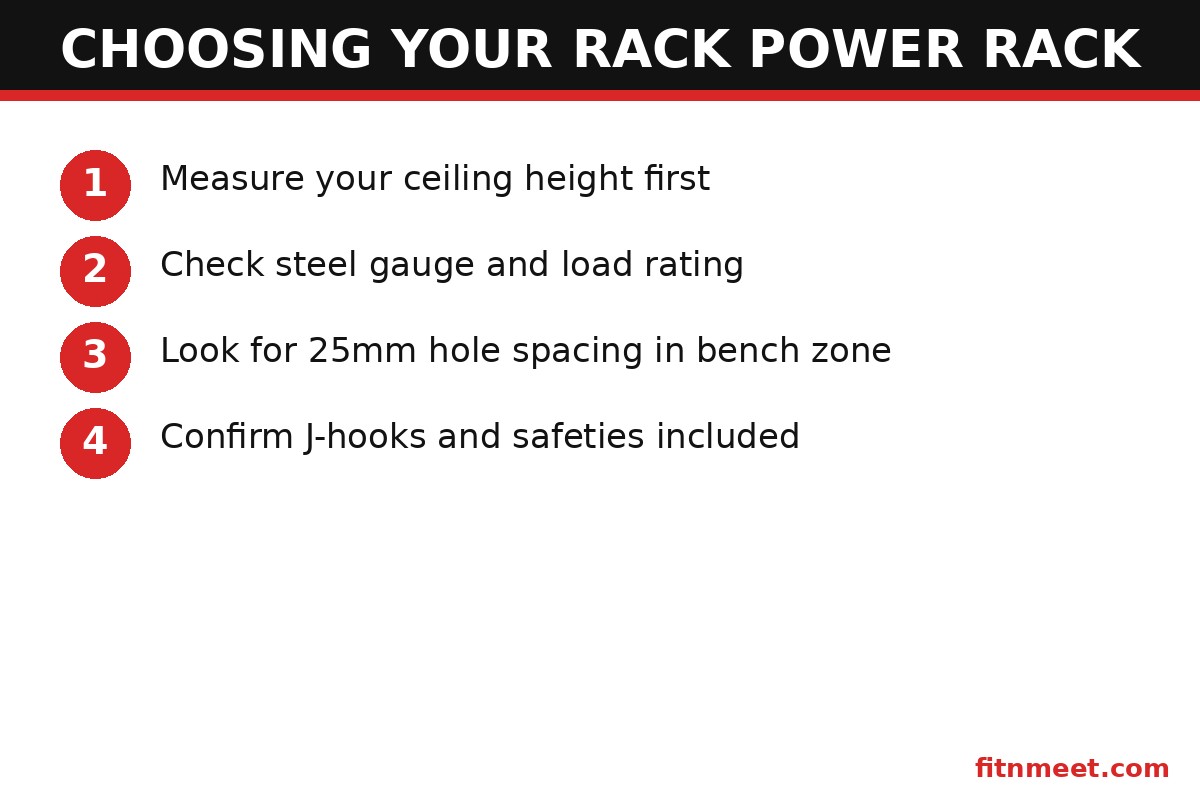
| Upright height | 210–230 cm | Fits standard ceilings; allows overhead press inside |
| Steel gauge | 11-gauge (3 mm) | Stiffness under load; resists wobble on re-rack |
| Load rating | 450 kg / 1,000 lb+ | Headroom above your current max for safety margin |
| Hole spacing | 25 mm in bench zone | Fine J-hook and safety adjustment for bench press |
| Hole diameter | 16–25 mm (5/8″–1″) | Determines attachment compatibility |
| Inside depth | ≥ 110 cm | Room to bench and squat without hitting rear uprights |
Benefits of a Rack Power Rack
- Train heavy alone, safely. Properly set safeties catch failed squats and bench presses. This single benefit justifies the purchase for most home lifters.
- One station, many lifts. Squat, bench press, overhead press, rack pulls, pin presses, barbell rows, pull-ups (most racks include a pull-up bar), and band work — a rack power rack is a full gym in 1.5 square meters.
- Progressive overload without a spotter. Attempting a new 1RM or AMRAP set alone is reckless on a bench but routine inside a rack power rack with safeties set correctly.
- Attachment ecosystem. Mid-range and premium racks accept dip bars, landmines, cable pulleys, lever arms, and plate storage — the rack grows with your training.
- Durability. A quality 11-gauge rack power rack lasts decades. Cost per year of a $700 rack used for 15 years is under $50 — cheaper than two months of most commercial gym memberships.
- Resale value. Name-brand racks hold value remarkably well on the secondhand market; budget no-name frames do not.
How to Choose Your Rack Power Rack: Decision Steps
Answer these five questions in order — each one narrows the field:
- What is your ceiling height?
→ Under 215 cm: look for short racks (180–190 cm) or squat stands; a standard rack power rack will not fit.
→ 215–240 cm: standard racks (210–230 cm) fit, but skip tall pull-up bar extensions.
→ Over 240 cm: any rack power rack fits — choose on other specs. - How much do you (or will you) lift?
→ Under 140 kg total: a budget 14-gauge rack power rack is adequate.
→ 140–220 kg: mid-range 11-gauge with 450 kg rating — the sweet spot.
→ Over 220 kg or competitive powerlifting: premium 7-gauge or 11-gauge with 500 kg+ rating. - Do you bench press inside the rack?
→ Yes: demand 25 mm Westside hole spacing in the bench zone — 50 mm spacing makes safe bench setup nearly impossible.
→ No (dumbbell-only chest work): hole spacing matters less. - How much floor space can you dedicate?
→ Under 1.5 m²: consider a folding wall-mounted rack or squat stand instead of a full rack power rack.
→ 1.5–2.5 m²: a standard 120 × 120 cm rack power rack fits with room to load plates. - What is your budget for the full setup?
→ Remember the rack is 40–50% of a home gym budget: you still need a barbell ($150–$350), plates ($200–$500), and a bench ($150–$300). Do not blow the whole budget on a premium cage and lift with a bent bar.
Rack Power Rack Sizing & Spec Guide
Think of this section as the “dosage” of rack buying — the numbers that determine whether the equipment fits your body and your room:
- Height: 210–230 cm is standard. Measure floor to ceiling, then subtract 10 cm for pull-up clearance and peace of mind.
- Footprint: ~120 × 120 cm for the frame, plus ~60 cm on each side for loading plates and ~100 cm in front for bench entry. Real-world space needed: roughly 2.5 × 2.5 m.
- Weight of the rack itself: 70–150 kg depending on gauge. Heavier is better — mass equals stability.
- J-hook height range: should adjust from ~60 cm (bench) to ~170 cm (squat unrack for tall lifters). Check the lowest and highest holes, not just the count.
- Safety bar length: full-length safeties spanning front to back uprights catch the bar anywhere; short spotter arms only protect a narrow zone.
- Anchoring: racks over 100 kg are usually stable unbolted on rubber flooring; lighter racks should be bolted down or loaded with plate storage for ballast.
Assembly typically takes 60–120 minutes with two people and basic tools. Most quality racks ship with clearly numbered hardware — if the manual is a single blurry sheet, that tells you something about the manufacturer.
Rack Power Rack Safety
A rack power rack is the safest way to lift heavy alone, but only when used correctly:
- Set safeties for every lift, every session. For squats: safeties 2–3 cm below your bottom position. For bench: safeties 2–3 cm above your chest at full arch — the bar touches your chest but rests on the safeties if you fail.
- Test the safeties with an empty bar first. Deliberately fail a rep during warm-up to confirm the bar lands on the safeties, not on you.
- Face the right way. Squat facing into the rack (walking the bar out forward) or out — pick one and set safeties accordingly. Most lifters squat facing out for easier re-racking.
- Inspect J-hooks and safeties quarterly. Plastic UHMW liners wear; replace them before bare metal contacts your barbell knurling.
- Keep children and pets clear. A loaded barbell on J-hooks is a hazard to anyone who bumps the rack. Train with the area secured.
- Do not exceed the load rating. The 450 kg rating includes the bar, plates, and dynamic forces — which can momentarily exceed static weight on a failed rep.
For lifters building their program around the big barbell movements, FitnMeet’s strength training guides cover programming, and the sports nutrition category supports recovery between heavy sessions.
This article is for informational purposes only and is not medical advice. Consult a healthcare professional before starting any supplement or exercise program.
Frequently Asked Questions About the Rack Power Rack
What is a rack power rack used for?
A rack power rack is used for barbell training — primarily squats, bench presses, and overhead presses. Its four-post steel frame holds the barbell on adjustable J-hooks and catches failed reps on safety bars, making it the safest way to lift heavy weights alone at home.
How much space do I need for a rack power rack?
The frame itself is about 120 x 120 cm, but you need roughly 2.5 x 2.5 meters of total floor space: 60 cm on each side for loading plates and about a meter in front for bench entry. Ceiling height matters too — most racks are 210 to 230 cm tall, so measure before buying.
Rack power rack vs squat stand: which should I buy?
Choose a rack power rack if you lift alone and want maximum safety — its full cage and safeties catch failed reps from any angle. Choose a squat stand if floor space is tight and you usually have a spotter. For solo heavy training, the rack power rack is the clear winner.
What gauge steel is best for a rack power rack?
11-gauge steel (3 mm wall thickness) is the sweet spot for most lifters — stiff, stable, and rated for 450 kg or more. Budget 14-gauge racks work for beginners under 140 kg but flex more. Premium 7-gauge racks suit competitive powerlifters moving very heavy loads.
Can I bench press safely alone in a rack power rack?
Yes — that is one of its main purposes. Set the safeties 2 to 3 cm above your chest at full arch, so the bar touches your chest on good reps but lands on the safeties if you fail. Always test with an empty bar first by deliberately failing a rep.
How much does a good rack power rack cost?
A good mid-range rack power rack costs $500 to $900 and includes 11-gauge steel, 450+ kg load rating, and Westside hole spacing. Budget options run $200 to $400, while premium racks with attachment ecosystems cost $1,000 or more. Budget 40 to 50 percent of your home gym spend on the rack itself.
Conclusion: Our Comparison Verdict
After comparing every alternative, the verdict is clear: for the solo home lifter, a mid-range rack power rack ($500–$900, 11-gauge steel, 450 kg rating, Westside hole spacing) beats squat stands on safety, Smith machines on movement quality, and budget cages on longevity. Measure your space, buy for the lifter you will be in three years — not the one you are today — and set those safeties every session. Ready to build around it? Browse FitnMeet’s shop for the training nutrition that fuels heavy days, and check the fitness guides for programs built for rack training.