
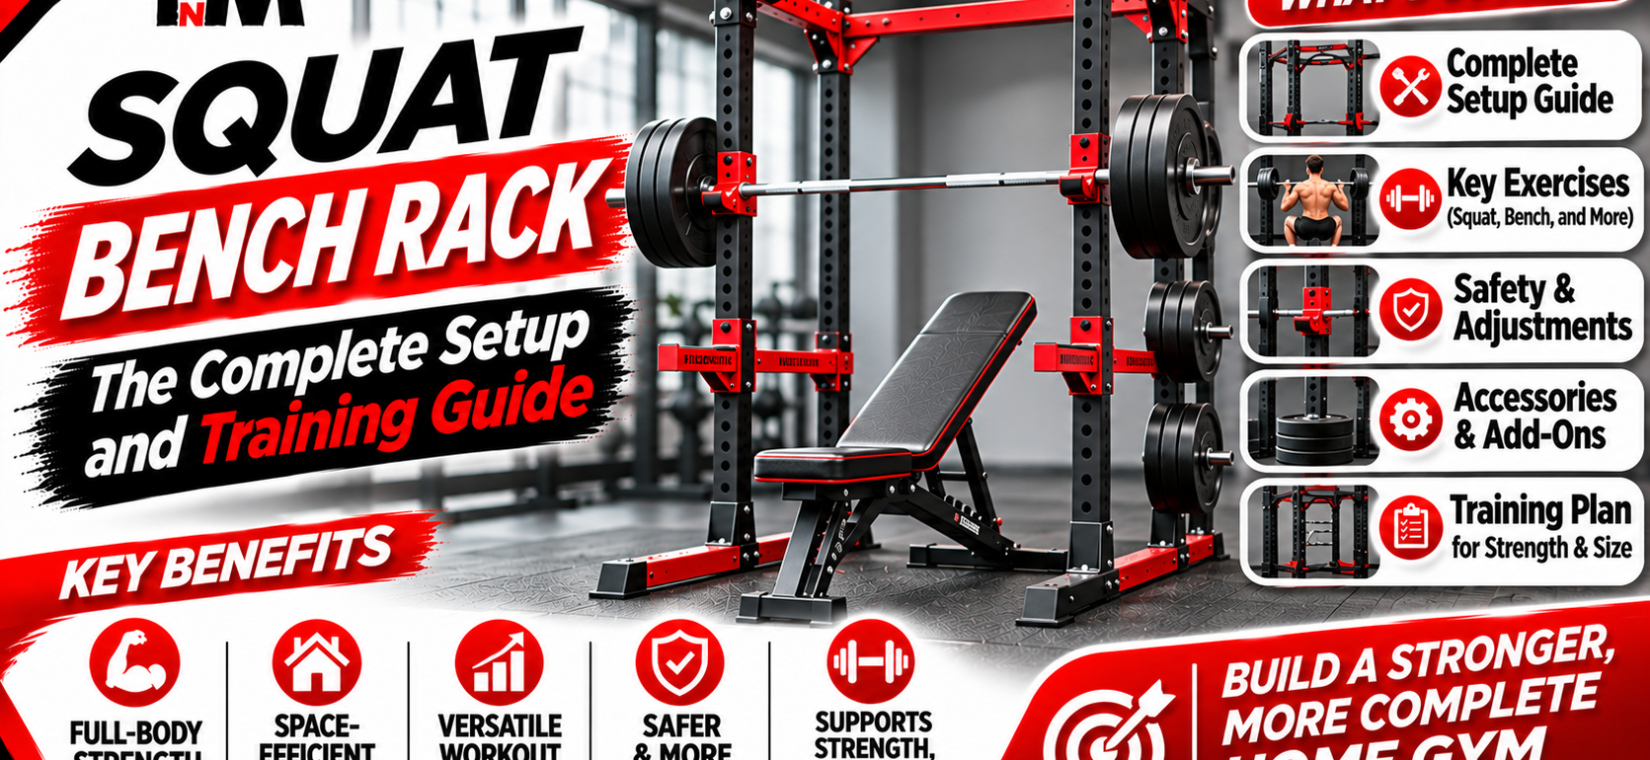
A squat bench rack is a freestanding steel frame with adjustable J-hooks and safety spotter arms that lets you squat, bench press, and overhead press safely without a spotter. A good squat bench rack supports 300+ kg, adjusts in 5 cm increments, and fits in a 2 × 2 meter home gym corner.
Squat Bench Rack: Quick Answer
1 Pro tip: A squat bench rack is the single most versatile piece of home gym equipment — one frame covers squats, bench press, overhead press, rack pulls, and pin presses.
If you can buy only one piece of equipment for a home gym, a squat rack is the answer. It is a pair of heavy-duty uprights (or a connected frame) with adjustable hooks to hold the barbell and safety arms to catch it if you fail a rep. That combination — heavy barbell work plus built-in safety — is what makes a squat rack the foundation of serious home training. Expect to spend more on the rack than on any other single item, and expect it to last decades: a well-built squat bench rack is a buy-once purchase.
Did you know? Competitive powerlifters routinely train with 300+ kg on a squat rack, yet quality home racks rated for 350–450 kg cost less than two years of a commercial gym membership.
What Is a Squat Bench Rack?
A squat rack is a steel framework designed to hold a loaded barbell at adjustable heights for the big barbell lifts. The classic design is two independent uprights, each with a heavy base, a J-hook (the cradle the bar rests in), and a spotter arm that extends forward to catch a dropped bar. Connected designs join the uprights with crossmembers top and bottom for extra rigidity. Either way, the squat bench rack does two jobs: it puts the bar at the right height to unrack, and it catches the bar if a lift goes wrong.
The key components of a squat rack are worth knowing by name. Uprights are the vertical posts, usually 75 × 75 mm steel tubing with holes every 5 cm for adjustment. J-hooks (or J-cups) are the lined cradles that hold the bar — plastic or UHMW lining protects bar knurling. Spotter arms / safety arms are the horizontal catchers set just below your lowest bar position. Base feet provide stability; wider feet or a bolt-down option keep the squat rack planted during aggressive re-racking. Understanding these parts helps you compare models on substance rather than marketing.
2 Pro tip: Look for 75 × 75 mm uprights with 5 cm hole spacing through the bench and squat zones — finer adjustment means the bar sits exactly at your ideal unrack height.
A squat bench rack differs from a full power rack in footprint and enclosure. A power rack is a four-post cage you lift inside; a squat rack is typically a two-post open design you lift in front of. The open design needs less floor space (about 1.2 × 1.5 meters versus 1.5 × 1.5+ for a cage) and costs less, while still handling the same core lifts. For most home gyms, a squat rack is the sweet spot between capability and space. The power rack’s design history explains how these frames evolved from simple squat stands into today’s engineered systems.
Why a Squat Bench Rack Belongs in Your Gym
The case for a squat bench rack rests on three pillars: exercise coverage, safety, and economics. On coverage: with a squat rack, an adjustable bench, and a barbell, you can perform every major movement pattern — squat, hinge (rack pulls), horizontal press, vertical press, and loaded carries. No other single piece of equipment unlocks that much training. Programs built around progressive overload on these patterns — the proven driver of strength and muscle — all assume access to a rack.
On safety: the spotter arms of a squat rack are what make heavy solo training possible. Bench pressing alone without safeties is genuinely dangerous; with a squat bench rack, you set the safeties just below chest level and a failed rep becomes a non-event — you lower the bar to the arms and slide out. This safety net changes how you train: lifters with a squat rack attempt true limit sets and AMRAPs they would never risk alone, and that willingness to push is where progress lives.
Did you know? Studies on resistance training show that training close to failure produces meaningfully more muscle growth than stopping with many reps in reserve — and a squat rack is what lets you train to failure safely without a spotter. Training to failure only pays off if you recover — the FitnMeet workout recovery collection has protein and recovery staples to support your squat bench rack sessions.
On economics: a quality squat bench rack costs roughly what 12–24 months of gym membership costs, then serves for 10–20 years. Add the saved commute time — 30 minutes each way, three times a week, is 150+ hours a year — and the squat rack pays for itself in time alone. For lifters who value consistency, removing every barrier between you and the barbell is worth more than any supplement. Pair your home setup with solid fueling from the FitnMeet strength training guides.
Step-by-Step: Setting Up Your Squat Bench Rack
Follow these steps to assemble, position, and dial in a squat rack for safe, effective training:
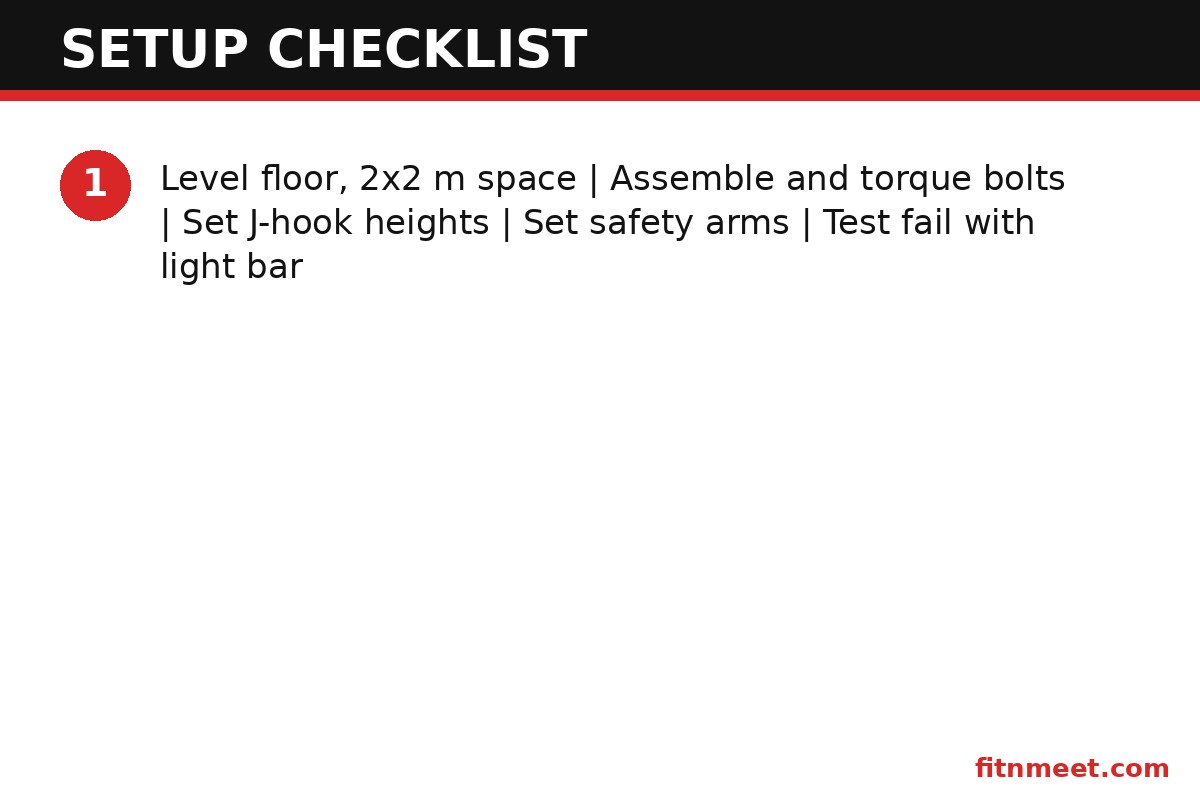
- Choose the location. You need a flat, level surface with at least 2 × 2 meters of clear space around the squat bench rack — room to load plates on each side and walk the bar out. Concrete or rubber gym flooring is ideal; never set a squat rack on soft carpet or uneven ground.
- Ceiling height matters: you need your height plus arm’s reach plus 20 cm for overhead pressing inside or in front of the rack.
- Leave 1 meter of clearance behind for plate loading and 1 meter in front for walkouts.
- Assemble on the floor. Lay out all parts and hardware before starting. Most squat rack designs assemble with the uprights horizontal first, then stand upright — get a second person for this step, as uprights are heavy and awkward.
- Hand-tighten all bolts first, then torque in sequence once everything is square.
- Use the included washers; they protect the powder coat and prevent loosening.
- Level and stabilize. Check the squat bench rack with a spirit level in both directions. If your floor is uneven, shim the feet — a rocking rack is a dangerous rack. Bolt-down models should be anchored to concrete with proper anchors.
- Set J-hook height for squats. Stand tall in front of the squat rack and set the hooks at mid-chest level — you should unrack with a slight knee bend, never on tiptoes. Mark your squat hole number with tape.
- Set safety arm height for squats. Get into your deepest squat position with an empty bar and set the safeties 2–3 cm below the bar’s lowest point. Test by lowering a light bar onto them — it should catch without you collapsing.
- Set heights for bench press. With your bench positioned, the J-hooks should allow unracking with slightly bent elbows, and the safeties should sit just below your chest at full arch. This usually means different hole numbers than squats — record both.
- Test everything with an empty bar. Walk out, squat, re-rack aggressively, and deliberately fail a light rep onto the safeties. Your squat rack should feel immovable. If anything shifts, re-tighten and re-test before loading weight.
3 Pro tip: Write your hole numbers for squat, bench, and overhead press on masking tape stuck to the upright — you will thank yourself every session.
Your squat bench rack shopping list: the rack itself · an adjustable bench · an Olympic barbell (20 kg) · 140+ kg of plates · spring or lock-jaw collars · rubber flooring · chalk. Shop the essentials at the FitnMeet shop.
Squat Bench Rack Specs and Usage Guide
When comparing a squat rack, five specifications separate serious equipment from decorative metal:
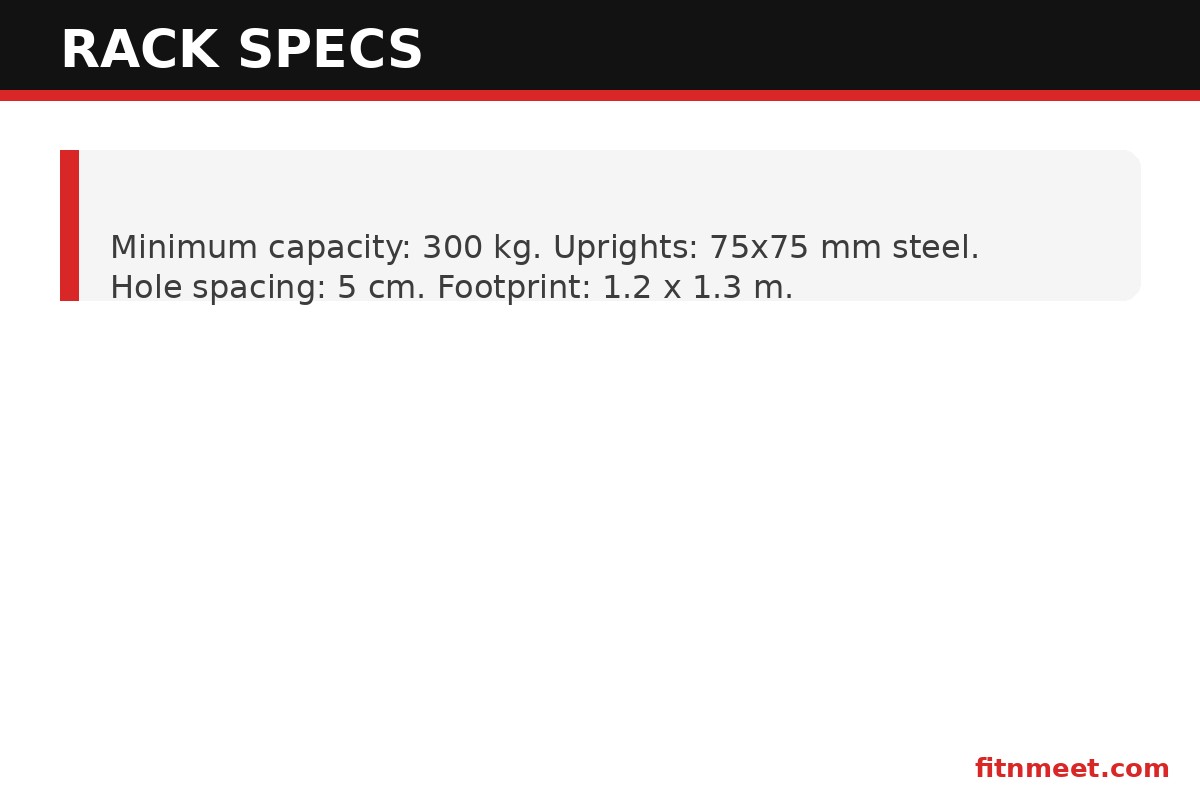
- Weight capacity: look for at least 300 kg static rating; 350–450 kg is the sweet spot for a squat rack you will never outgrow. Be skeptical of ratings without testing standards — reputable makers publish them.
- Steel gauge and upright size: 75 × 75 mm, 11-gauge (3 mm) steel is the benchmark for a squat bench rack. Thinner 14-gauge steel flexes under heavy loads and shortens the rack’s life.
- Hole spacing: 5 cm spacing through the working zones allows precise J-hook and safety placement. Westside-style 2.5 cm spacing in the bench zone is a premium bonus.
- Footprint and height: most squat rack models stand 180–230 cm tall and need roughly 120 × 130 cm of floor. Measure your ceiling before buying — tall lifters pressing overhead need 250 cm+.
- Attachments: dip bars, landmine attachments, and plate storage pegs extend a squat rack enormously. Check that the attachment system is standard (50 mm holes) so future add-ons fit.
Usage-wise, a squat rack follows a simple session rhythm: set hooks and safeties for the lift, warm up with the empty bar, work up in sensible jumps, and strip the bar when done. Always load plates evenly and use collars — an unbalanced bar tipping off a squat bench rack is one of the most common home-gym accidents. When switching between squat and bench, move the J-hooks and safeties to your recorded positions rather than guessing; 30 seconds of adjustment beats a dangerous unrack.
Did you know? The barbell squat performed in a rack works over 200 muscles, which is why coaches call the squat the king of exercises — and why the rack it happens in deserves real investment.
Benefits of Training With a Squat Bench Rack
The headline benefit of a squat rack is training freedom: heavy barbell work on your schedule, with safety built in. No waiting for a squat rack at 6 p.m., no cutting sets short because no spotter is available, no skipping heavy singles. Lifters who move to a home squat rack consistently report higher training frequency — removing the commute and the wait removes the two biggest excuses for missing sessions.
A squat bench rack also improves training quality through consistency of setup. Your hook heights, safety positions, bench placement, and bar are identical every session — no adjusting to whatever rack is free at the commercial gym. That consistency makes progressive overload cleaner: when the setup never changes, the only variable is the weight on the bar, which is exactly how strength programs are designed to work.
Versatility is the third benefit. Beyond the big three lifts, a squat rack handles pin presses, rack pulls, box squats, Anderson squats, overhead press, seal rows (with the bench), dips (with attachments), and even band-resisted work anchored to the base. One squat rack plus a bench and a barbell is a complete strength gym — a fact that keeps experienced lifters training at home for decades. Explore programming ideas in the FitnMeet fitness library.
Mistakes to Avoid With a Squat Bench Rack
4 Pro tip: The most common squat bench rack mistake is skipping the safety arms “just for this light set.” Light sets cause accidents too — set the safeties every time.
- Buying on price alone. A wobbly bargain squat rack flexes, rocks during re-racks, and needs replacing within a few years. The price gap between flimsy and lifetime-grade is smaller than one year of physio after an accident.
- Ignoring ceiling height. Overhead pressing requires surprising clearance. Measure twice — a squat rack that fits but leaves you unable to lock out overhead is a costly error.
- Setting safeties too low. Safeties set far below the bar’s path do nothing in a real fail. Set them 2–3 cm below your lowest bar position for each lift, every session.
- Uneven plate loading. Loading one side fully before the other can tip the bar off the J-hooks. Alternate plates side to side, and always use collars.
- Skipping the test fail. Every new squat bench rack deserves a deliberate low-weight fail onto the safeties so you trust them. Lifters who have never tested their safeties hesitate to commit to hard sets.
- Neglecting maintenance. Check bolt tightness every few months, wipe down J-hook liners, and touch up paint chips before rust starts. A squat rack lasts decades with 15 minutes of care per quarter.
Squat Bench Rack vs Other Rack Types
| Type | Footprint | Max practical load | Safety | Best for |
|---|---|---|---|---|
| Squat rack (2-post) | ~1.2 × 1.3 m | 300–450 kg | Spotter arms | Home gyms, big lifts, value |
| Full power rack (4-post cage) | ~1.5 × 1.5 m | 450 kg+ | Full cage safeties | Maximum safety, band work |
| Half rack | ~1.3 × 1.4 m | 350–450 kg | Spotter arms | Plate storage + lifting in one |
| Squat stands (basic) | ~1.0 × 1.0 m | 180–250 kg | Minimal/none | Tight spaces, light loads |
| Smith machine | ~1.5 × 1.5 m | Machine-limited | Built-in catches | Fixed-path pressing |
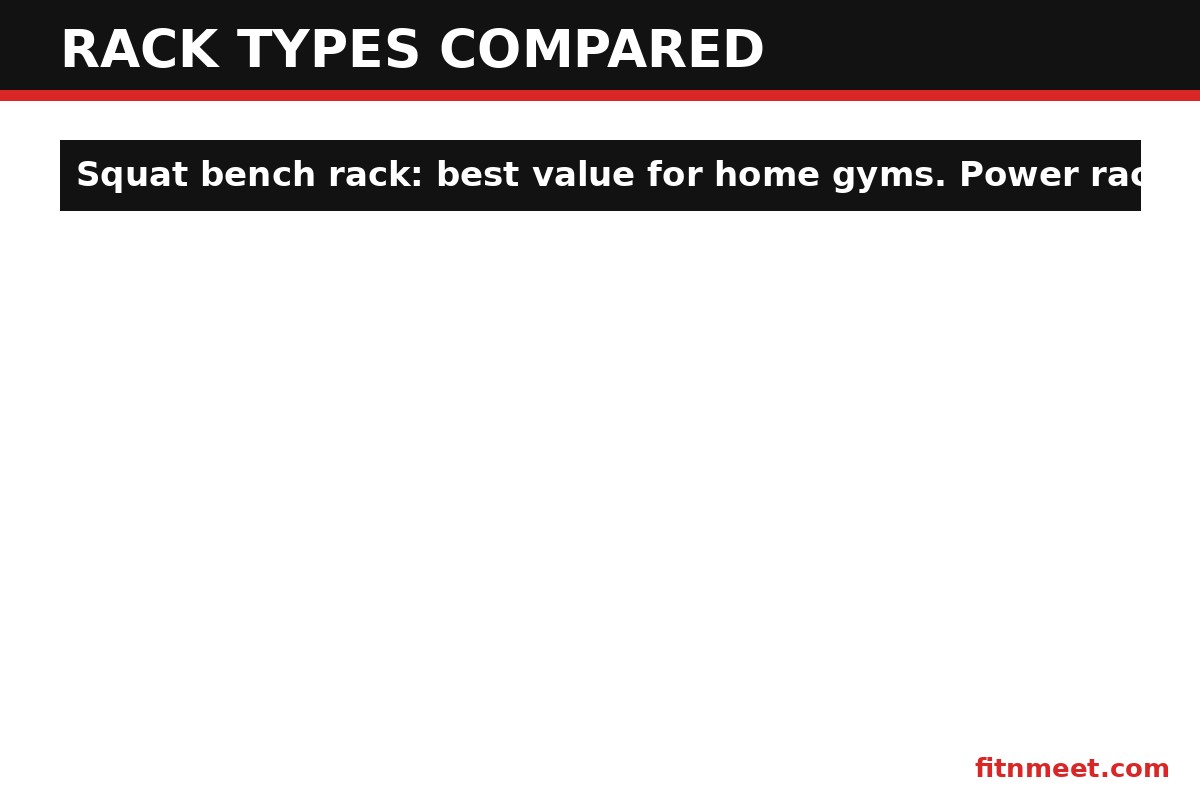
The squat rack wins the value equation for most home lifters: it handles everything a power rack does for the core lifts at a lower price and smaller footprint. A full cage is the upgrade pick if you want the absolute maximum safety envelope or do heavy band-resisted work. Basic squat stands are fine for beginners but get outgrown fast — most lifters who buy stands end up buying a squat bench rack within two years, paying twice. Skip the intermediate step.
Squat Bench Rack Safety Rules
A squat rack is safe equipment, but only when respected. These rules are non-negotiable:
- Set spotter arms for every lift, every session — no exceptions for “light” sets.
- Use collars on every loaded bar to prevent plate slides.
- Load and unload plates evenly, alternating sides.
- Keep the lifting area clear of plates, bags, and clutter — you need clean footwork for walkouts.
- Inspect J-hooks and safety pins monthly for wear, cracks, or loosening.
- Never exceed the manufacturer’s rated capacity, and derate by 20% if the rack is more than 10 years old or shows rust.
- Train barefoot or in flat shoes on a stable surface — cushioned running shoes on a hard floor under a loaded squat rack is asking for ankle trouble.
This article is for informational purposes only and is not medical advice. Consult a healthcare professional before starting any supplement or exercise program.
Frequently Asked Questions
How much space do I need for a squat rack?
Plan for at least 2 x 2 meters of clear floor space around a squat bench rack: about 1.2 x 1.3 meters for the rack itself plus room to load plates and walk the bar out. You also need enough ceiling height for overhead pressing — your height plus reach plus 20 cm.
What weight capacity should a squat rack have?
Choose a squat rack rated for at least 300 kg. Ratings of 350-450 kg give headroom to grow and handle dynamic forces from aggressive re-racking. Avoid racks without published capacity ratings.
Can I bench press alone with a squat bench rack?
Yes — that is one of the main reasons to own a squat rack. Set the spotter arms just below chest level at your full arch. If you fail a rep, lower the bar to the safeties and slide out. This makes solo heavy benching safe.
Squat rack vs power rack: which is better?
A squat bench rack is better for most home gyms: smaller footprint, lower cost, and full capability for squats, bench, and overhead press. A full power rack is better if you want the maximum safety cage or do heavy band-resisted training.
Do I need to bolt down a squat rack?
Not always. A well-designed squat rack with wide feet is stable unbolted on level concrete or rubber flooring. Bolt down if your floor is uneven, you lift very heavy, or you re-rack aggressively. Always shim or level a rocking rack before use.
What else do I need with a squat bench rack?
The essential companions for a squat rack are an adjustable bench, an Olympic barbell, at least 140 kg of plates, collars, and rubber flooring. Chalk and a landmine or dip attachment are the most useful next upgrades.
Conclusion
A squat rack is the highest-leverage purchase in home strength training: one frame that makes heavy squats, bench press, and overhead press safe to do alone, for decades. Buy for steel quality and capacity rather than the lowest price, set your safeties every session, and record your hole numbers. Do that, and your squat bench rack will be the most-used piece of equipment you own. Start building your setup today at fitnmeet.com — training guides, nutrition, and gear for lifters who take their home gym seriously.